First Steps
You've installed SafeAppeals—now let's set up your first case and explore the key features.
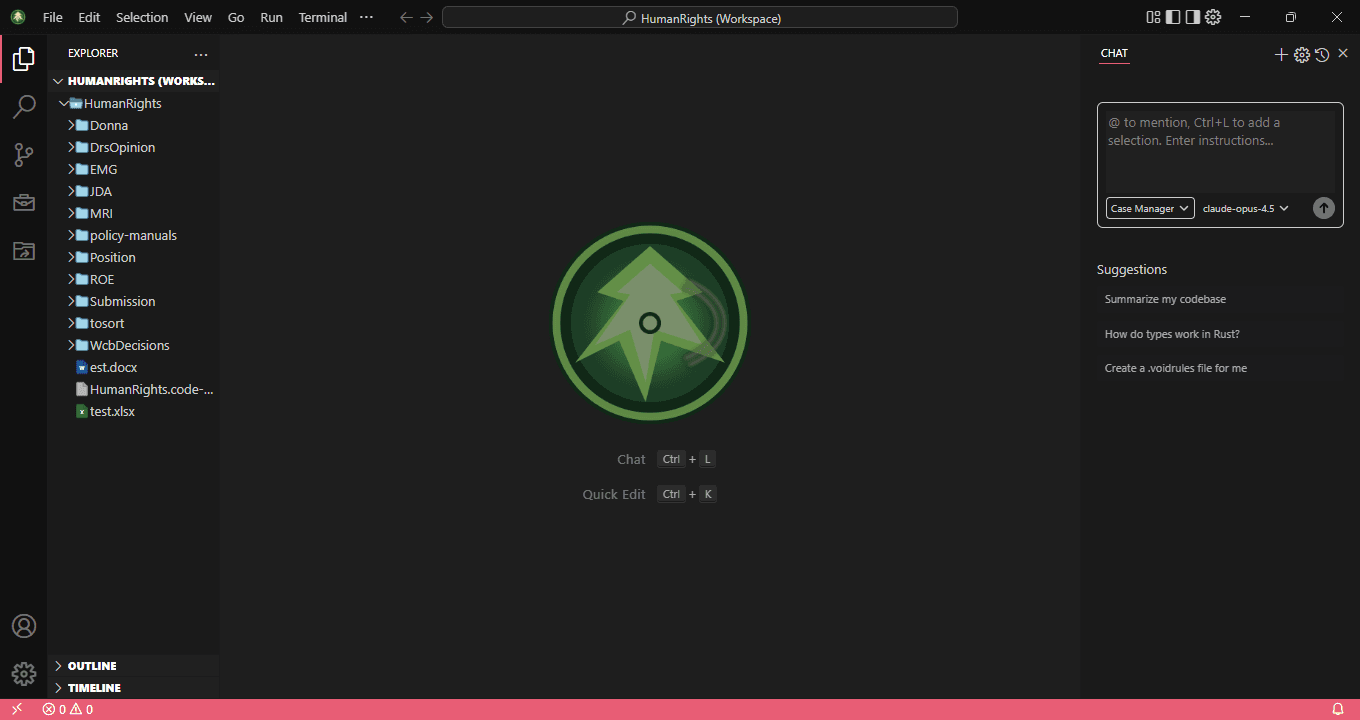
Start with Tutorials
In SafeAppeals, open Help → Tutorials (or use the Get Started Tutorials CTA). Tutorials open a bundled sample case, run a short tour, and walkthroughs including Get Started with Safe Appeals Tutorials, Private Search on This Computer, Case Files and Documents, Email and Calendar, and Hearings and Audio. Nothing leaves this computer, no credits are spent, and the AI does not run.
Prefer watching? Check out our YouTube channel for step-by-step video guides.
Step 1: Create Your First Case Workspace
SafeAppeals organizes your work into workspaces—folders on your computer that contain your case files, documents, and research.
- Open SafeAppeals
- Click File → Open Folder (or press
Ctrl+K Ctrl+O) - Create a new folder for your case (e.g., "Smith v. WorkSafe 2025")
- Select the folder to open it
Tip: Create a dedicated folder for each case. This keeps your research, drafts, and documents organized and makes it easier for the AI to understand your case context.
Step 2: Save as a Workspace
Important: After opening your folder, save it as a workspace file. This unlocks powerful features and ensures your settings persist between sessions.
- Click File → Save Workspace As...
- Save the
.code-workspacefile in your case folder's root - Name it something like
Smith-v-WorkSafe.code-workspace
What You Get with a Workspace
- →Persistent Settings — Your AI provider, model preferences, and editor settings are saved per-case
- →Quick Launch — Double-click the workspace file to open SafeAppeals with your case ready
- →Multi-Folder Support — Add multiple folders (e.g., shared templates, reference materials) to one workspace
- →Task Configurations — Set up custom tasks and build processes for your workflow
- →Extension Recommendations — Recommend extensions for team members working on the same case
Recommended case folder layout (snake_case at workspace root):
📁 Smith v. WorkSafe 2025/
├── 📄 Smith-v-WorkSafe.code-workspace
├── 📄 AGENTS.md                 ← Case brief for the agent
├── 📁 .safeAppeals/             ← Settings, plans, timeline (not .vscode/)
├── 📁 medical_reports/
├── 📁 correspondence/
├── 📁 decisions_and_orders/
├── 📁 evidence/
├── 📁 personal_notes/
├── 📁 to_sort/                  ← Unsorted intake
└── 📁 core_references/          ← Shared policy manuals (optional)
Local git only for case data: You may commit locally for history on this computer. Do not push client matters to GitHub or another remote unless you explicitly trust that provider with confidential case data. See the Local Git Backups guide.
Pro tip: Pin the workspace file to your Windows taskbar or create a desktop shortcut. Next time you need to work on the case, just click it to launch SafeAppeals with everything ready.
Step 3: Configure AI Provider
Before you can use the AI assistant, you need to configure your AI provider:
- Press
Ctrl+,to open Settings - Search for SafeAppeals or your AI / Chat provider settings
- Choose your AI provider:
- Safe Appeals Cloud — Sign in with Google (requires purchased credits)
- OpenAI — Enter your OpenAI API key
- Anthropic — Enter your Anthropic API key
- Google — Enter your Google AI API key
- Select your preferred model (Claude Sonnet 4.5 recommended for legal work)
Folder-scoped Chat settings live under .safeAppeals/settings.json in the workspace (not .vscode/).
Step 4: Start a Conversation
The AI assistant lives in the Chat sidebar. Here's how to start chatting:
- Click the Chat icon in the left activity bar (or press
Ctrl+L) - Type your question or request in the chat input
- Press
Enterto send
Example Prompts to Try
"What are the common grounds for appealing a denied workers' compensation claim?"
"Summarize the key requirements for proving a work-related injury"
"Help me draft an introduction for my appeal letter"
"What evidence should I gather for a repetitive strain injury claim?"
Step 5: Create Your First Document
SafeAppeals can help you create and edit appeal documents. Watch the video tutorial for a visual walkthrough.
- Right-click in the File Explorer sidebar
- Select New File
- Name it with a
.mdextension for Markdown or.docxfor Word documents - Start writing, or ask the AI to help draft content
Using AI to Write
Select any text in your document and press Ctrl+K to open the quick edit panel. Describe what changes you want, and the AI will suggest edits.
Quick Edit Examples
- → "Make this paragraph more formal"
- → "Add a citation for this claim"
- → "Expand on this point with more detail"
- → "Fix any grammar issues"
Optional: Private Search on This Computer
Private Search builds an index on this computer so you can find passages in case files and core_references/ without uploading whole files for every search. Guided setup checks what this machine can run, then offers optional search tools (~350 MB) and optional scanned-PDF OCR tools. Nothing downloads without your consent. Searching the private index does not spend credits.
- Command Palette → Set Up Private Search
- Or open the Private Search walkthrough from Help → Tutorials → Explore More
- See the Core References & Private Search guide for details
Understanding Modes
SafeAppeals has specialized modes for legal work (built-in Ask and Agent, plus custom Plan):
Ask Mode
Conversational help for exploration, drafting assistance, and quick questions.
When to use: Use for drafting help, clarifying case details, and safe exploratory research without autonomous multi-step edits.
Agent Mode
Autonomous multi-step work with full tool access. The AI can take actions across your case workspace.
When to use: Use for complex, multi-step tasks like organizing case files, analyzing evidence, or executing an approved plan.
Plan Mode
Plan-first workflow: research, clarify, write a reviewable plan, then start implementation in Agent mode.
When to use: Use when the work should be designed and approved before any case files change. See the Plan Mode guide for details.
You can change modes using the dropdown in the chat sidebar. The mode affects which tools the AI can use and how proactively it works. For the full Plan Mode flow, see the Plan Mode guide.
Next Steps
Now that you're set up, explore these topics: